The Importance of Image Compression for Website Speed
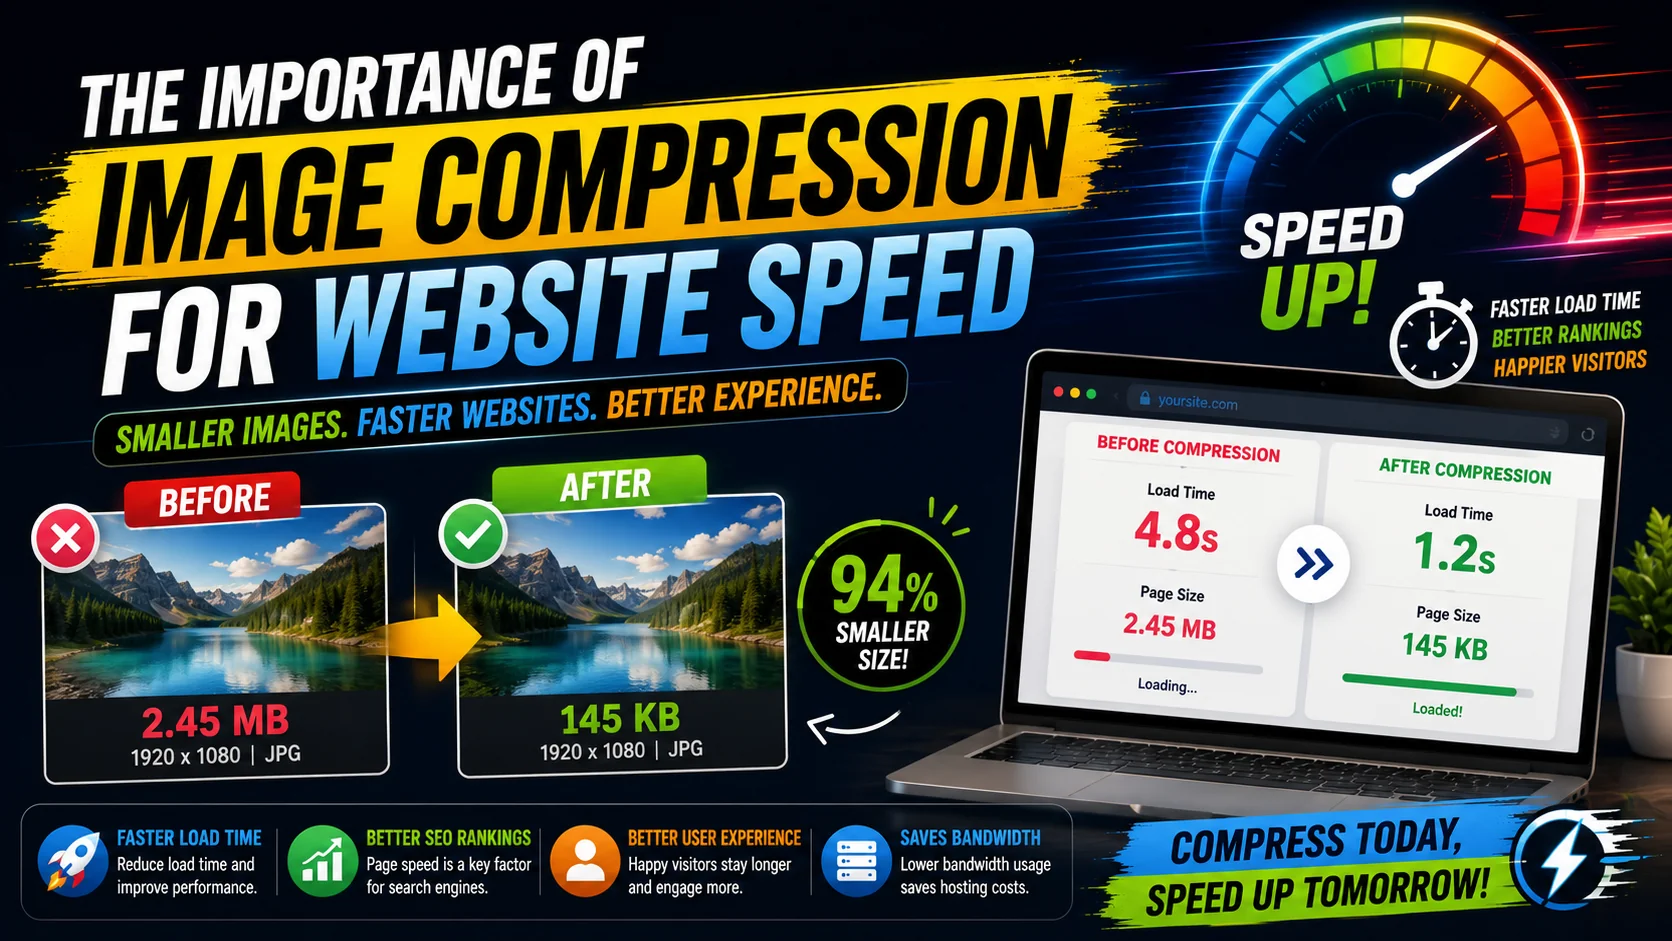
Images account for over 60% of the data loaded on an average web page. If your website is loading slowly, unoptimized images are almost certainly the primary culprit. Here is why image compression is non-negotiable for modern web development and SEO.
Core Web Vitals and SEO
Google uses a set of metrics called Core Web Vitals to measure user experience. One of the most important metrics is Largest Contentful Paint (LCP), which measures how long it takes for the largest element on the screen (usually a hero image) to render. If your LCP is over 2.5 seconds, Google will penalize your search rankings. Compressing images is the fastest way to fix a failing LCP score.
How Image Weight Maps to Core Web Vitals
Every kilobyte of image data has a measurable impact on the metrics Google uses to rank your page:
| Hero Image Size | Typical LCP (4G) | Google Verdict |
|---|---|---|
| 4.8 MB (uncompressed) | 6.2 s | Poor |
| 1.2 MB | 3.4 s | Needs Improvement |
| 400 KB | 2.1 s | Good |
| 120 KB (WebP) | 1.3 s | Excellent |
Lossy vs. Lossless Compression
When you compress an image, you have two choices:
- Lossless Compression: This reduces file size without removing any pixel data. It works by removing metadata and optimizing the mathematical encoding of the image. You generally get a 10–20% file size reduction with zero visual change. Use it for logos, line art, UI screenshots, and archival masters.
- Lossy Compression: This method permanently removes pixel data that the human eye can't easily detect. Tools like the ToolWise Image Compressor use intelligent lossy algorithms to reduce file sizes by up to 80% while keeping the image looking virtually identical on a screen. Use it for hero photos, blog post images, and product galleries.
Choosing the Right Format
Compression isn't just about reducing quality; it's also about choosing the right modern format:
| Format | Best For | Transparency | Animation | Browser Support |
|---|---|---|---|---|
| JPEG | Complex photographs | No | No | Universal |
| PNG | Logos, UI graphics, sharp edges | Yes (alpha) | No | Universal |
| WebP | Universal replacement for JPEG/PNG | Yes (alpha) | Yes | All modern browsers |
| AVIF | Cutting-edge compression ratio | Yes (alpha) | Yes | Most modern browsers |
| SVG | Icons, logos, vector illustrations | Yes | Yes (with CSS/JS) | Universal |
The Mobile Experience
Over 55% of all web traffic now comes from mobile devices. These users are often on slower 3G or 4G connections. Forcing a mobile user to download a 5MB raw photograph from a DSLR camera will result in them abandoning your site before it even loads. By compressing that image to 150KB, you ensure a frictionless experience.
Combine compression with responsive images (the srcset attribute) so mobile devices automatically receive smaller variants — no extra engineering required, just a few extra lines of HTML.
Pre-Upload Optimization Checklist
Before you upload an image to your website, walk through this quick checklist:
- ✅ Resize to the largest display size needed (don't upload 4000px images for a 1200px container)
- ✅ Convert JPEG/PNG originals to WebP or AVIF when supported
- ✅ Strip EXIF metadata (GPS, camera info) — it's not needed on the web and adds weight
- ✅ Run a final pass through a compressor (try the ToolWise Image Compressor)
- ✅ Add descriptive
alttext for SEO and accessibility - ✅ Set explicit
widthandheightattributes to prevent layout shift (improves CLS) - ✅ Use lazy loading (
loading="lazy") for below-the-fold images
The Two Hidden Costs of a Heavy Image
Most people think of image weight purely in terms of download time, but an oversized image taxes your site twice. First, there is the network cost: the bytes have to travel from the server (or CDN) to the visitor’s device, and on a slow mobile connection every kilobyte extends the wait. Second, there is the decode cost: the browser has to uncompress that image into raw pixels before it can paint anything, and that work consumes CPU and memory on the user’s device.
A 5 MB photograph does not just take longer to arrive — it also takes measurably longer to decode and can jank the page as it renders. Compressing that image to 200 KB reduces bothcosts at once, which is why the perf gain often feels larger than the raw byte savings would suggest. When you optimise for a single heavy hero image, you are not just slicing the download; you are also lightening the device’s rendering workload.
Finding the Quality Sweet Spot
Compression is a trade-off, not a one-way street, and the goal is to find the point where the file is small but the image still looks right to the end user. A few practical rules make that easier:
- Use a quality around 70–85 for photographs. Below 70 visible artefacts start to creep into gradients and skin tones; above 85 you usually pay for bytes no one can perceive on a standard display.
- Watch the edges, not the middle. Lossy compression degrades high-contrast boundaries first. If text or fine lines start to blur, the file has gone too far.
- Never compress a compressed file. Re-saving an already-lossy JPEG compounds artefacts. Always work from the original and export a single, optimised copy.
- Preview at the real display size. An image that looks soft at 200% zoom often looks perfect at the size it is actually shown. Judge quality in context, not zoomed in.
Compression Mistakes That Quietly Hurt Your Site
Even teams that know they should compress images make the same handful of avoidable mistakes:
- Serving full-resolution originals and relying on CSS to shrink them. The browser still downloads every pixel; a 4000px image in a 1200px container wastes most of them.
- Skipping responsive variants. Without
srcset, a phone downloads the same desktop-sized image as a laptop, burning mobile data for no benefit. - Ignoring the format choice. Shipping a PNG screenshot of a photograph can be ten times heavier than the WebP or JPEG equivalent of the same view.
- Keeping EXIF metadata that includes GPS coordinates and camera settings a visitor will never see, while adding weight and a quiet privacy exposure.
- Over-compressing visible text. If the image contains text, aggressive lossy compression will smear it. Reserve heavy compression for photos, not infographics.
Each of these is cheap to fix once you know to look for it, and together they account for most of the oversized images you will find on real production sites.
A Repeatable Workflow for Every Image
- Resize first. Crop and downscale to the largest display size you will actually use, before any compression runs.
- Pick the format. WebP or AVIF for photos, PNG only for graphics that need sharp edges or transparency, SVG for vectors and logos.
- Compress. Run the resized image through a compressor at a sensible quality setting rather than accepting the camera’s default export.
- Strip metadata. Remove EXIF data unless the GPS or author information is genuinely needed.
- Generate responsive sizes. Produce a small, medium, and large variant and wire them up with
srcsetso each device gets the right one. - Verify in the field. Load the page on a throttled connection and confirm the hero paints quickly and the images look sharp.
Frequently Asked Questions
What is a good image file size for the web?
Is WebP really better than JPEG?
How does compression affect SEO?
What is the difference between lossy and lossless compression?
Should I compress images before or after uploading to my CMS?
Does image compression reduce print quality?
Compress your images locally in your browser
The ToolWise Image Compressor runs entirely in your browser using WebAssembly. Your images are never uploaded to a server, ensuring 100% privacy and lightning-fast processing.
Try the Image Compressor →